Prerequisite:
If you haven’t already, check out the External Wallets Overview first, this guide builds on the concepts introduced there.
Setting up connecting wallet support
The toggle to enable connecting external wallets is available in theTurnkeyProvider configuration. You can further customize settings, such as which chains are enabled, which providers are supported, and whether WalletConnect is allowed.
Note:
- For wallet connecting to work, you must define at least one
ethereumorsolanachain, either asnativeor withwalletConnectNamespaces.
- To enable WalletConnect, you must configure both the
walletConnectobject and definewalletConnectNamespacesin at least one chain (e.g.,ethereumorsolana).- For EVM chain switching on WalletConnect, all supported chain namespaces must be listed in
walletConnectNamespacesunderethereum. Attempting to switch to a chain not listed here will result in an error. The first chain in the array is the default chain you will be connected to.
Wallet connecting
Connecting a wallet refers to initializing a session with an external wallet provider (e.g., MetaMask, Phantom, or WalletConnect). This process establishes a connection between your application and the user’s wallet, enabling the app to interact with the wallet for operations like signing transactions and messages. When these operations are requested, the external provider will prompt the user to review and approve each action through its interface. One thing to understand is that when a user authenticates into a Turnkey sub-org using their wallet, that wallet is also considered connected. This is because the authentication flow includes stamping (i.e., signing) an activity payload, which inherently requires a connection to the wallet. To put it simply: logging in with a wallet automatically connects it. That means the wallet can then be used both:- as a stamper for Turnkey activities, and
- as a connected wallet for signing messages and transactions in your app logic
What happens after a wallet is connected?
Once a wallet is successfully connected, several things become available in your app:Wallet Provider is Connected
The
WalletProvider you connected to now shows in the connectedAddresses property of the provider.Wallets state includes that connected wallet
The wallet you just connected to will automatically be included in the
wallets state.Understanding the connected wallet structure
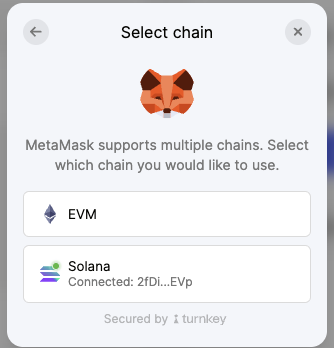
When a user connects to an external wallet (like a wallet in MetaMask or Phantom), Turnkey creates aWallet object representing that provider. This wallet contains one or more WalletAccount entries, each representing a connected address on a specific chain (e.g., Ethereum or Solana).For example, if the user connects to MetaMask with an Ethereum address, a Wallet named “MetaMask” is created, and a corresponding Ethereum account is added. If the user then connects to MetaMask with a Solana address, that address appears as an additional account within the same wallet.In short:- The
Walletrepresents the external provider (e.g., “MetaMask”). - The
WalletAccountsrepresent the connected addresses, one per namespace (Ethereum, and or Solana) under that provider.
Example connected wallet structure
Example connected wallet structure
Connecting and disconnecting a wallet
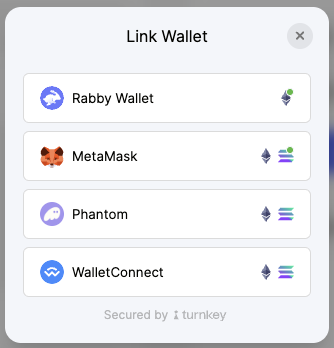
There are two paths you can take: let us handle it for you, or build it yourself. We recommend letting us do the heavy lifting using our built-in modal.Option 1: Use our Connect External Wallet
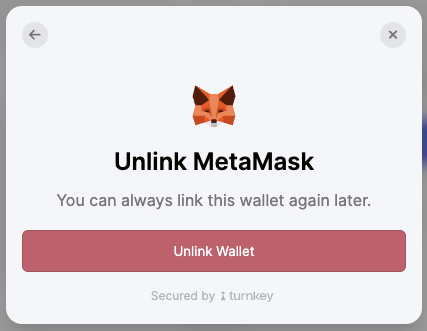
If you want a fully styled, plug-and-play experience, use our Connect External Wallet modal. It handles the entire connection flow for you.


Note: this UI is customizable. Checkout the UI Customization guide to learn how to customize the look and feel of the Connect External Wallet modal and other UI components.