Turnkey organization setup
To start, you must create a Turnkey organization via the Turnkey dashboard. The steps to do so are described in the Account Setup section. For this setup, we will be using Turnkey’s Auth Proxy to handle authentication. We can enable and configure this through the Turnkey dashboard.1
Enable Auth Proxy
Navigate to the Embedded Wallets → Configuration section in the Turnkey Dashboard and enable the
Auth Proxy.
2
Customize auth methods
You can choose which auth methods to enable and customize various options from this screen. For this quickstart, let’s enable email OTP and passkeys. When you’re done, click Save.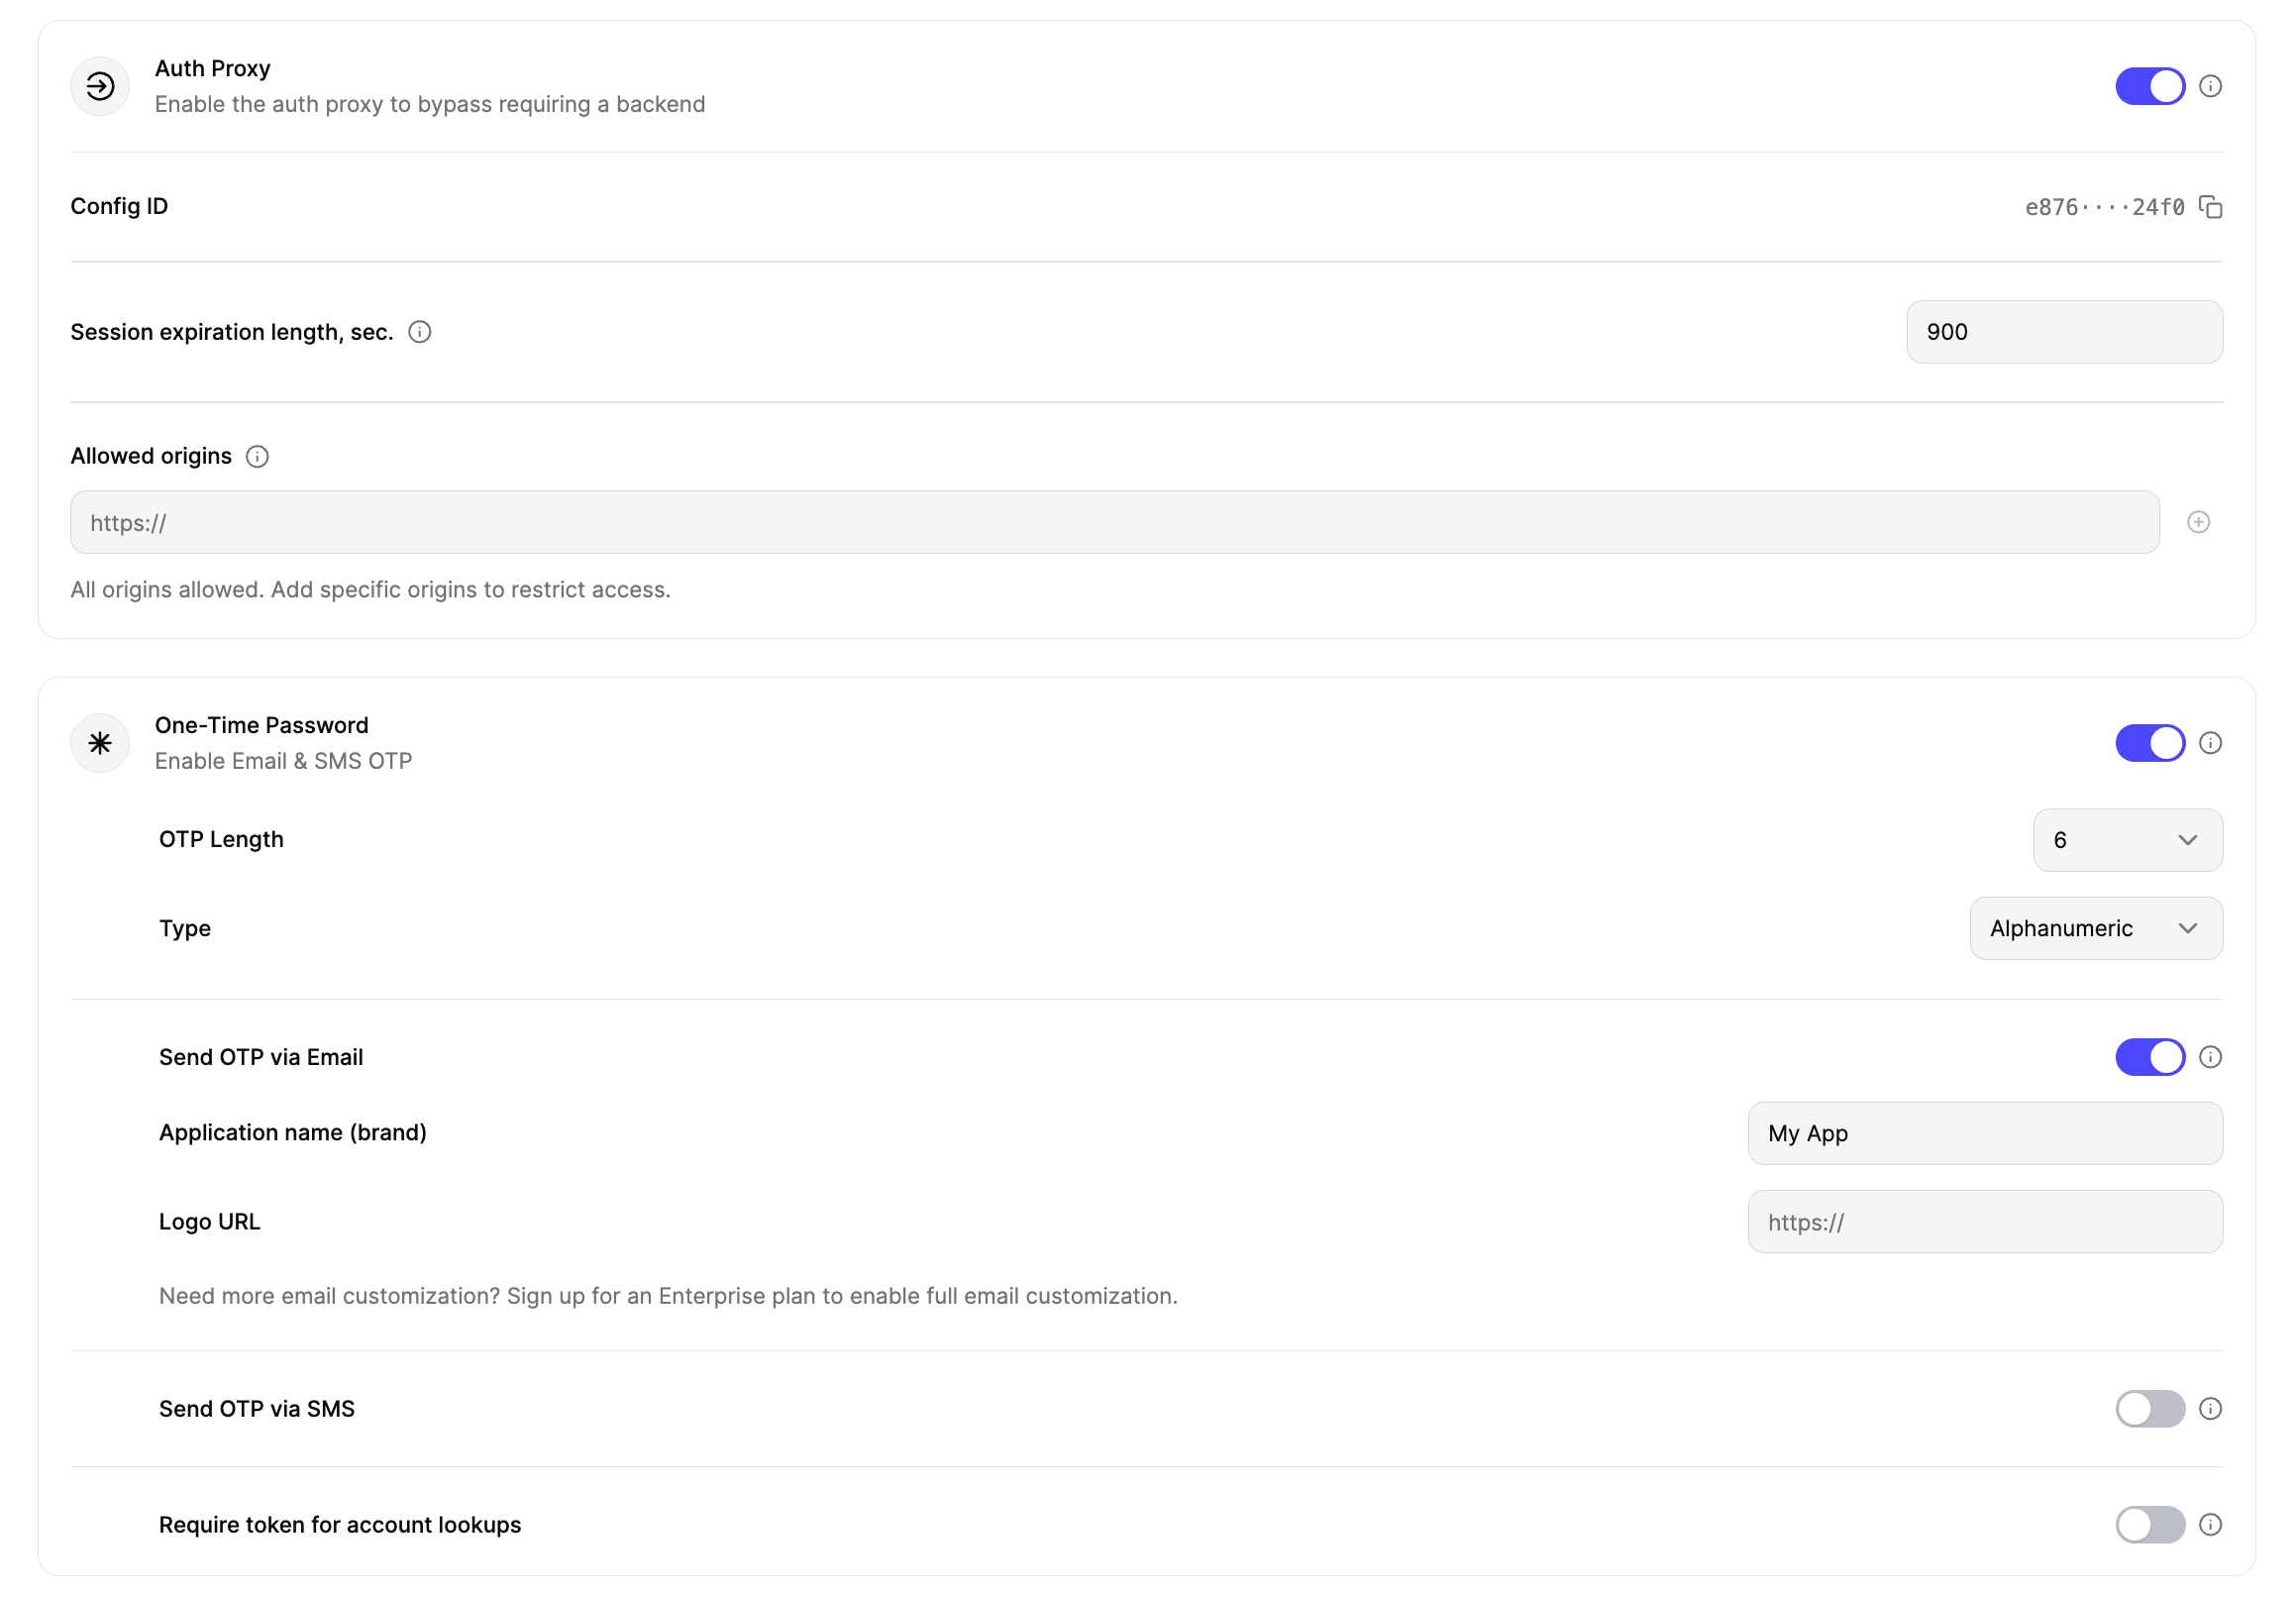
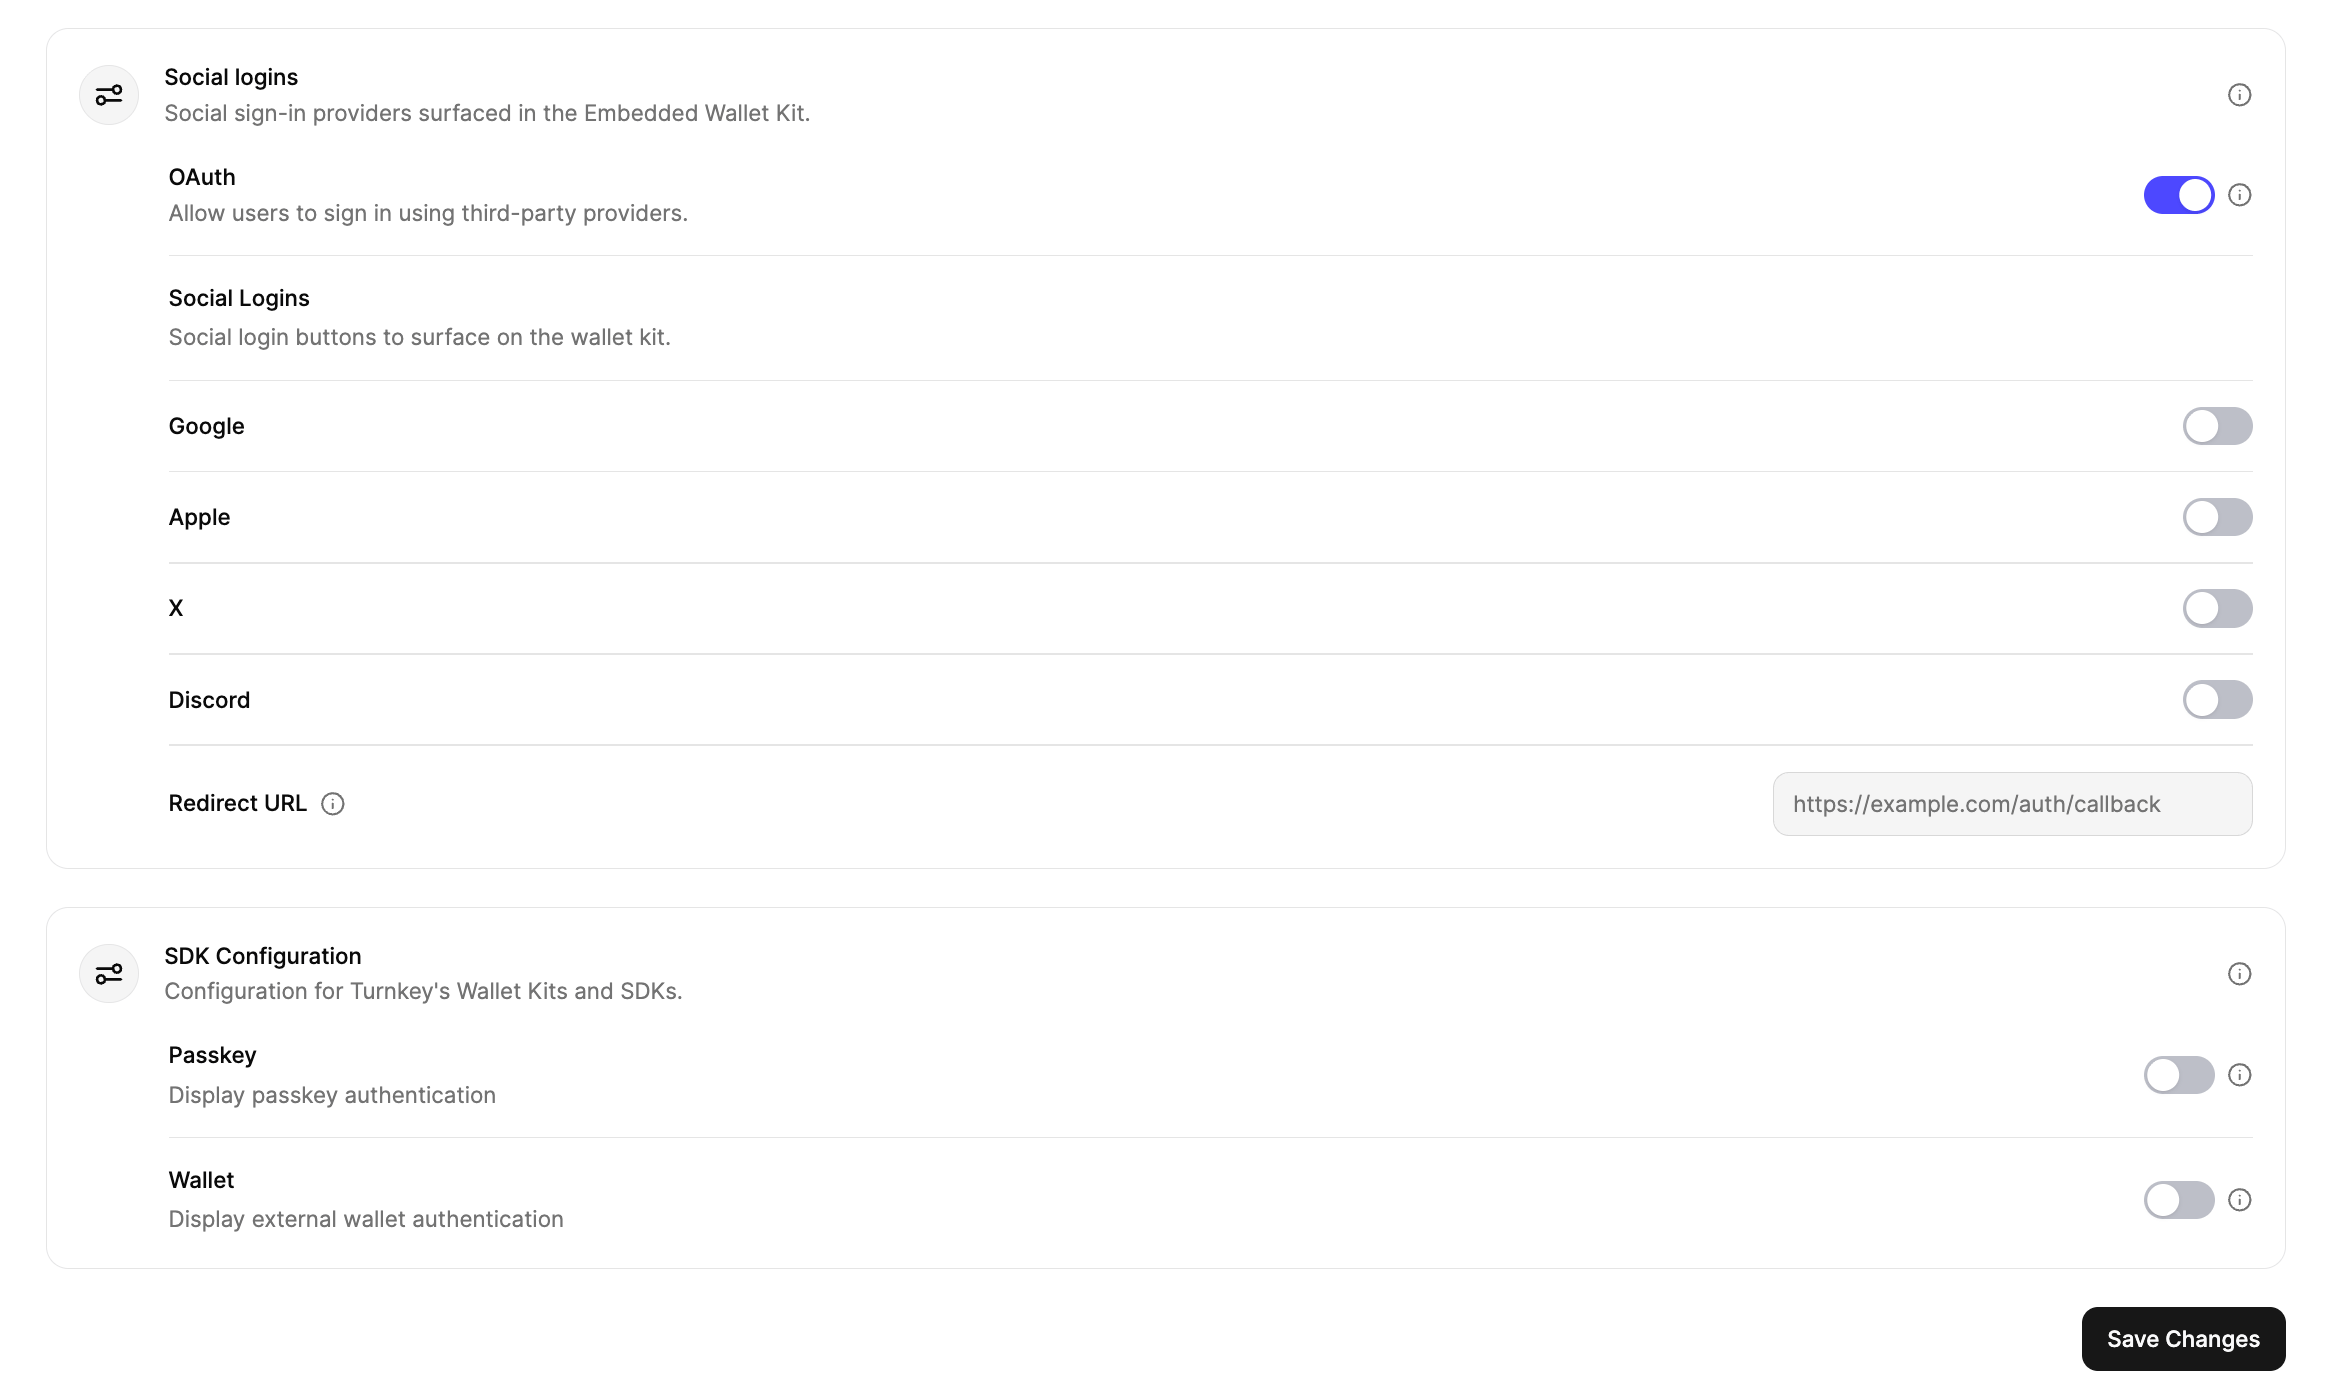
3
Finish up
Once you’re finished with the auth proxy setup, you can copy the auth proxy config ID
Installation
You can use@turnkey/react-wallet-kit in any React based web application.
For this guide, let’s create a new Next.js app. If you already have an existing app, you don’t need to do this.
npx
.env file within your app directory, and populate it with the IDs from before
.env
Provider
Wrap your app with theTurnkeyProvider component, and import "@turnkey/react-wallet-kit/styles.css" to include styles for the UI components.
For Tailwind CSS V3 users:Please refer to the Tailwind V3 error in the troubleshooting section for specific instructions on how to import the styles correctly.You can continue with the guide as normal if you are using Tailwind CSS V4 or not using Tailwind CSS at all.
app/layout.tsx as a server component and create a separate app/providers.tsx client wrapper. This is necessary if you want to pass callbacks (e.g., onError), which must be defined in a client component.
app/providers.tsx
onError callback to the TurnkeyProvider to catch any errors.
Then, use the Providers component to wrap your app in app/layout.tsx.
app/layout.tsx
Why this pattern?
- Callbacks (and other interactive bits) must be declared in a client component.
- Keeping layout.tsx as a server component maintains optimal rendering and avoids unnecessarily making your entire app client-side.
- Centralizing Turnkey setup in app/providers.tsx keeps configuration, styles, and callbacks in one place.
Client readiness
TheClientState enum tracks the initialization status of the Turnkey client. Before performing any auth or wallet operations, you must wait for the client to reach it’s Ready state
ClientState values
Why client readiness matters
The client performs several asynchronous operations during initialization:- Configuration Loading - Fetches auth proxy config if configured
- TurnkeyClient Initialization - Sets up the HTTP client, passkey, api key & wallet stampers, and wallet providers
- Session Restoration - Loads and validates existing sessions from storage
- Wallet Provider Setup - Initializes wallet connection listeners
- Race conditions with session management
- Missing configuration errors
- Failed client operations
How to check client readiness
AccessclientState via the useTurnkey hook: