Create an account
Navigate to the Turnkey Dashboard to create an account and setup your organization:
Get your organization ID
Once logged in, open the user dropdown at the top right. Your Organization ID is listed there. Copy it for use in your code or environment variables.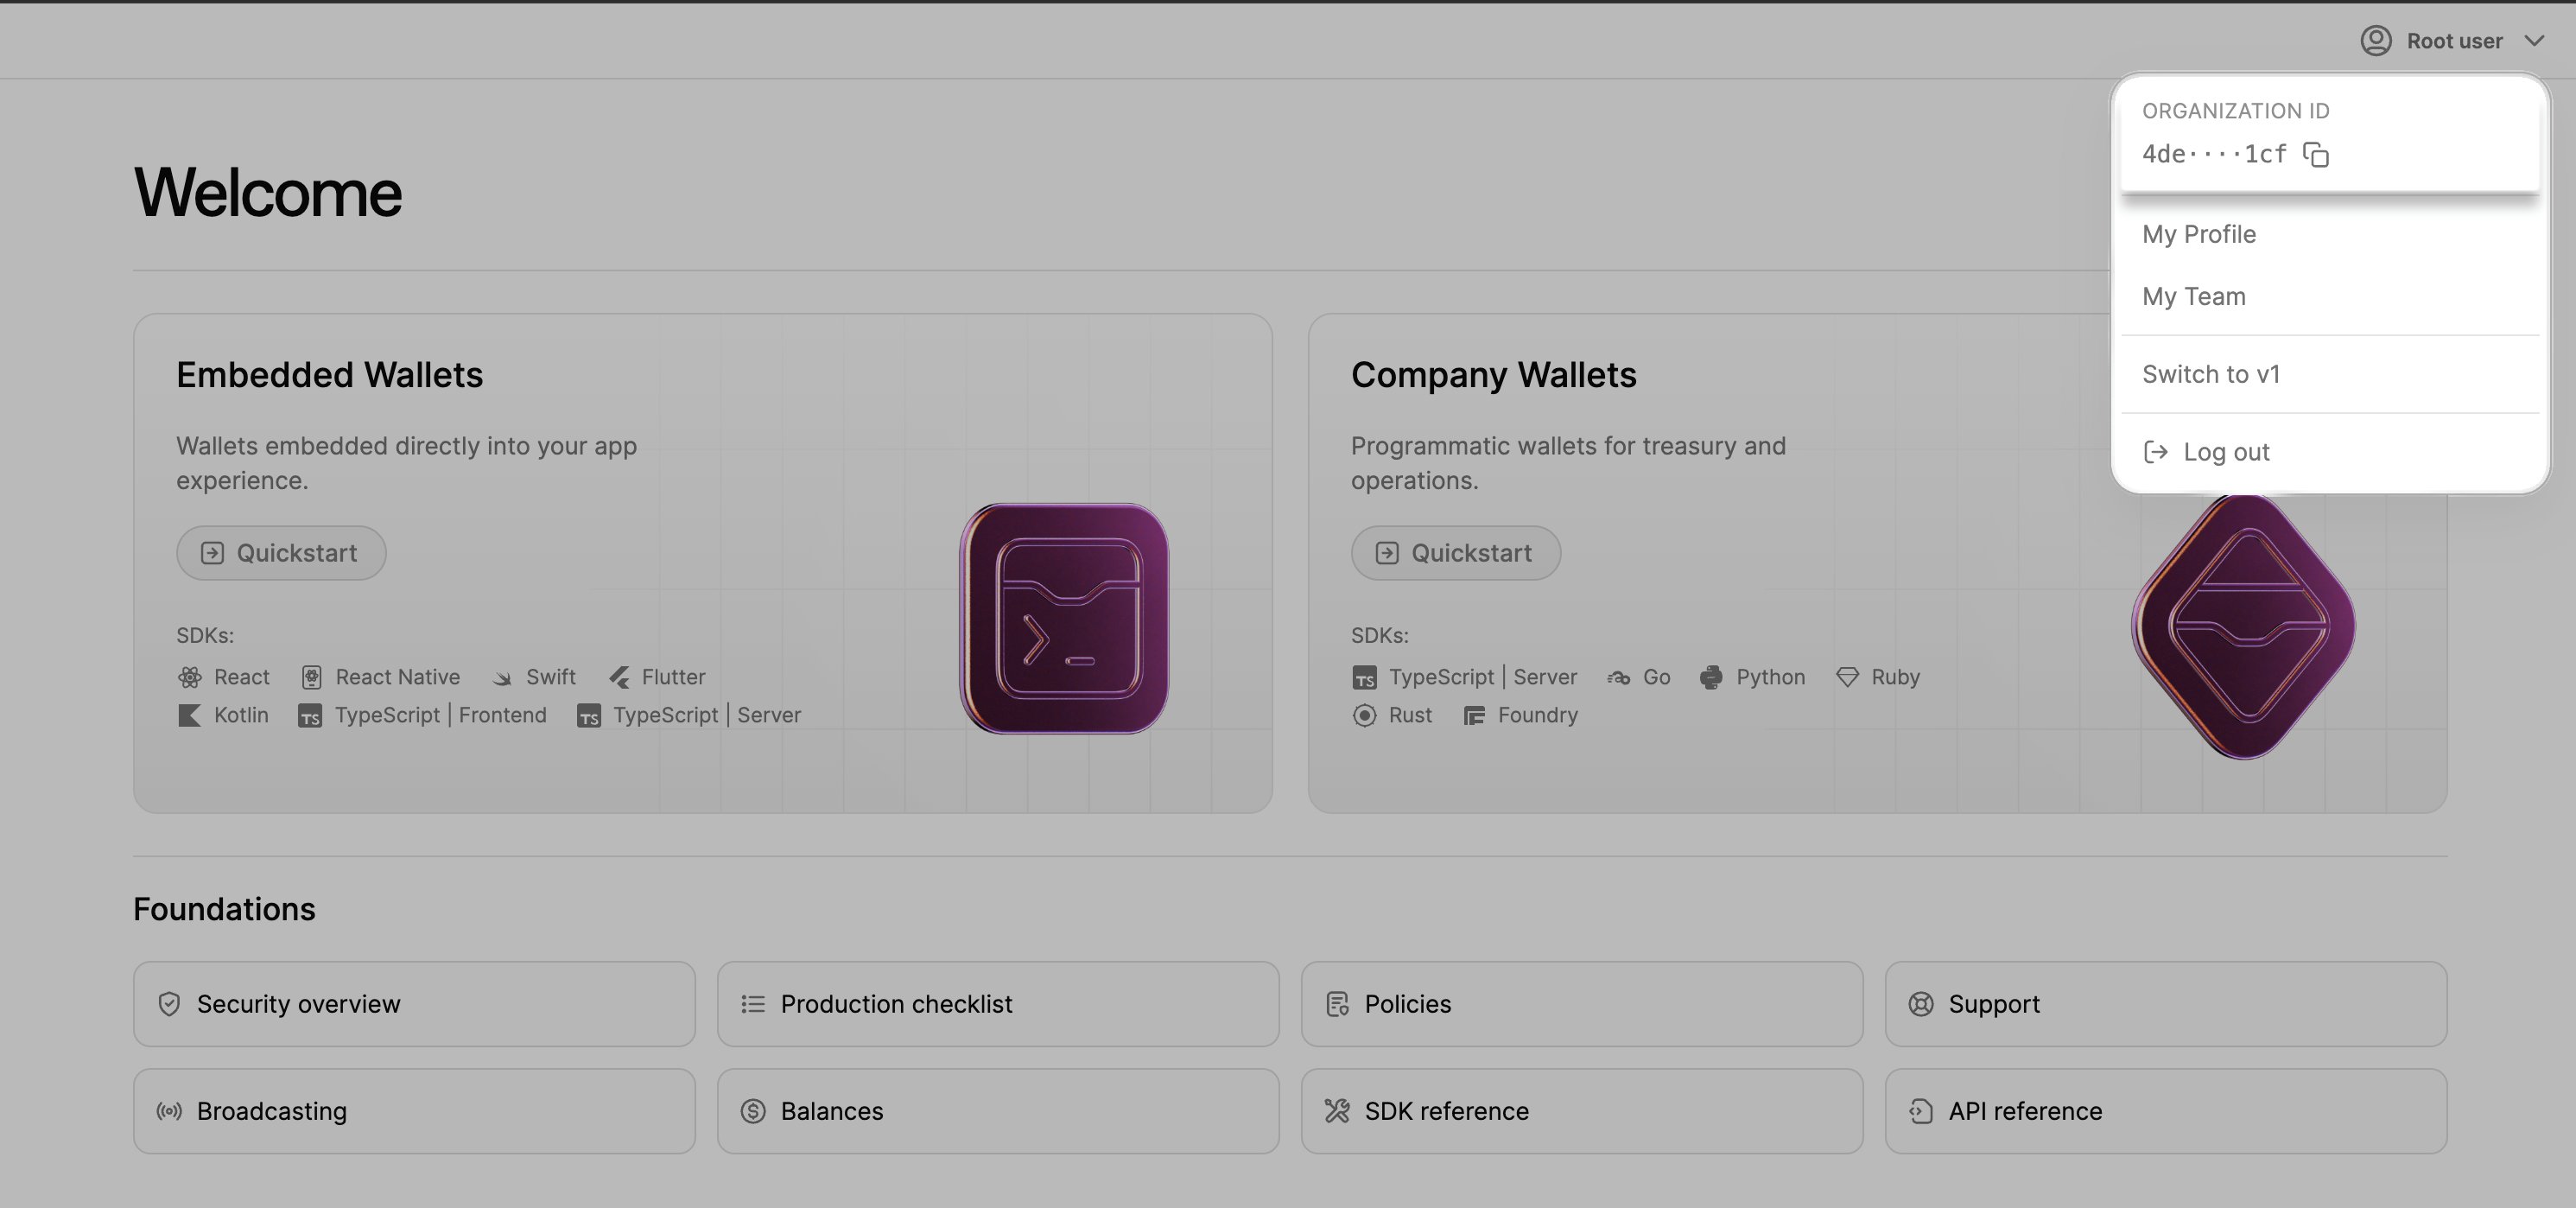
Create an API key
The API keypair is used to authenticate requests to Turnkey. We’ll create one now.1
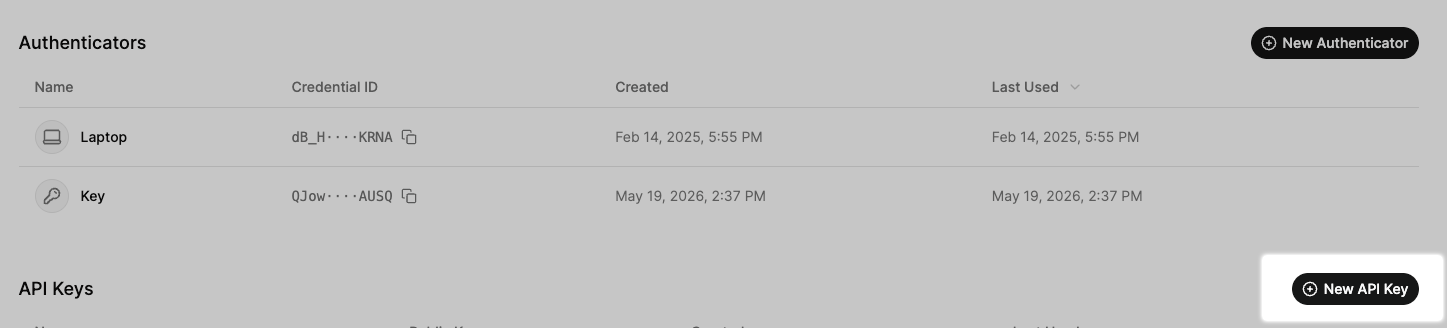
Navigate to the My Profile page.

2
Click "Create an API key"
3
Name your keypair

4
Approve & Create
You’ll be prompted to authenticate with the authenticator setup during account creation. Save the private key in a secure location — it won’t be visible after this step.Important: Both the public and private keys are required for signing requests to the Turnkey API. Keep these keys secure and out of reach of end-users.
5
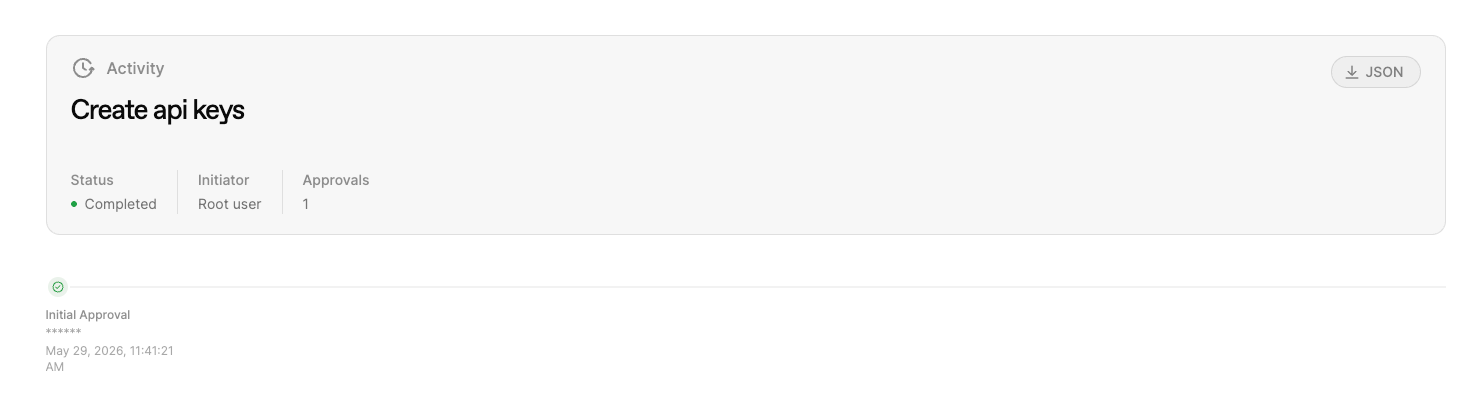
API Key Created
You can view the activity details in the “Activity Log” tab.