Turnkey organization setup
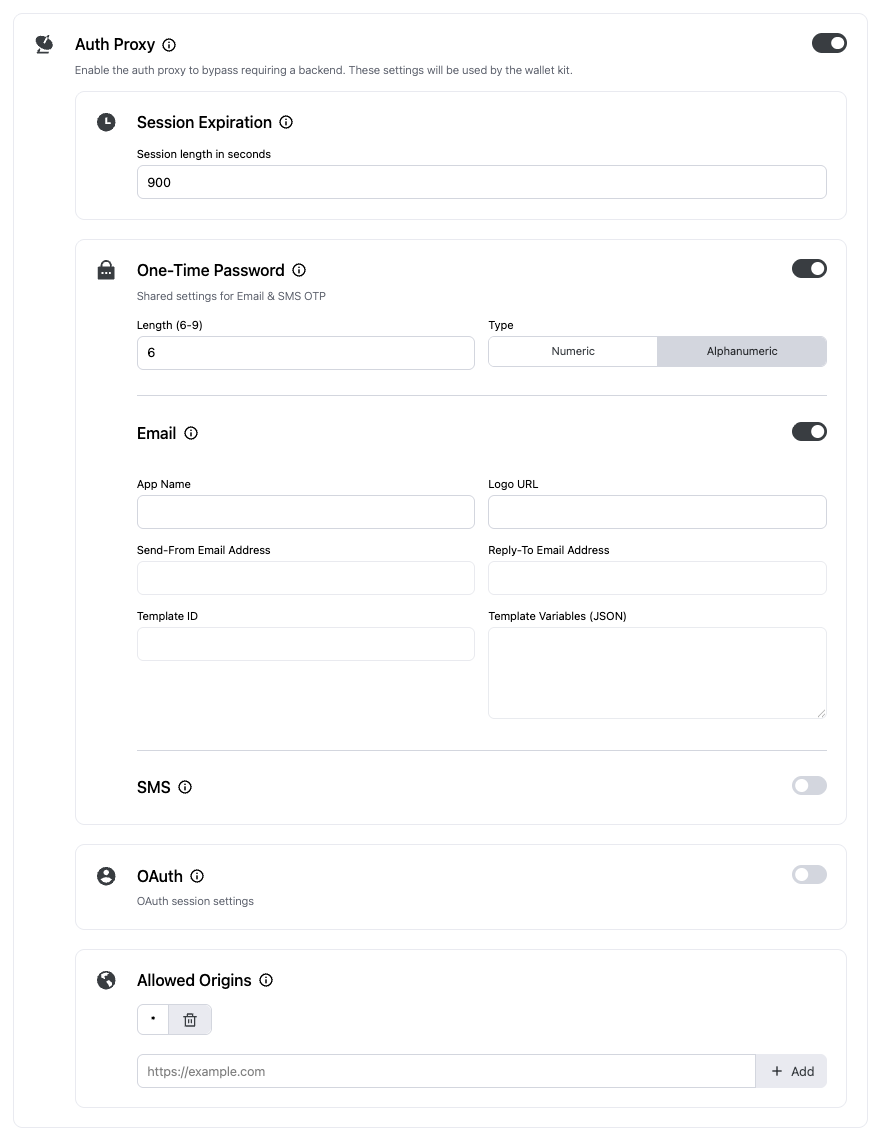
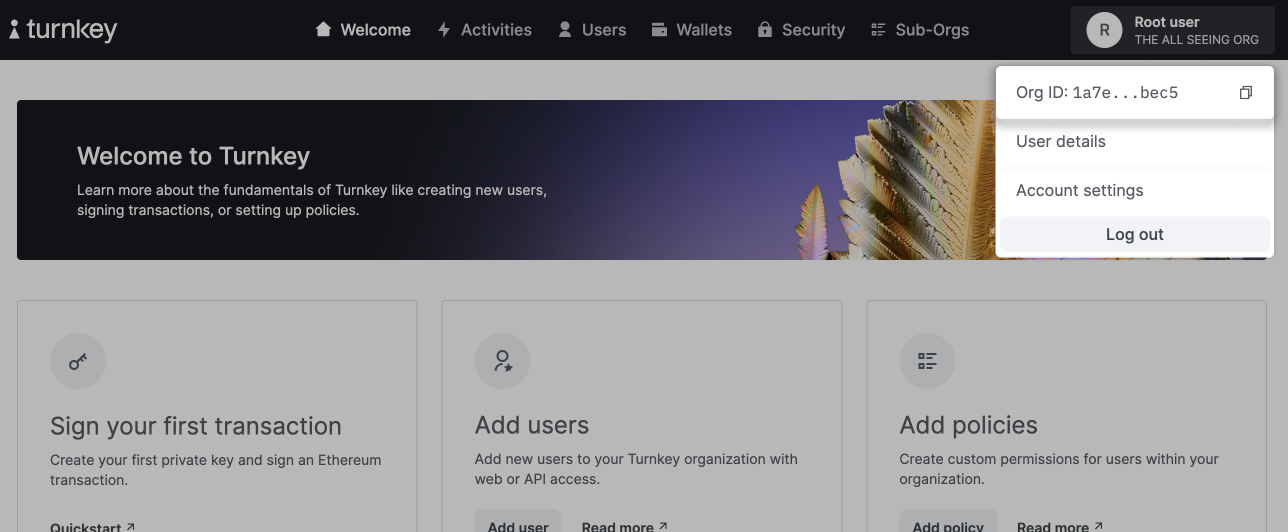
To start, you must create a Turnkey organization via the Turnkey dashboard. The steps are described in the Account Setup section. For this setup, we will use Turnkey’s Auth Proxy to handle authentication. You can enable and configure this through the Turnkey dashboard.Customize auth methods
You can choose which auth methods to enable and customize various options from
this screen. For this quickstart, let’s enable email OTP.
When you’re done, click Save.

Installation
Install the Turnkey Core SDK into your project:React Native setup
If you’re using React Native, there’s some additional setup required. You can skip this section if you’re using a web framework.Install peer dependencies
Install the following peer dependencies.If you’re not using Expo, you may need to install the iOS dependencies.
Configure required polyfill
@turnkey/core requires a polyfill to work in React Native.Install the react-native-get-random-values package.index.js, entry.js etc.). If you don’t have this file, you’ll need to create one.index.js
package.json under the main field if it’s not already there.package.json
Client initialization
Unlike@turnkey/react-wallet-kit, @turnkey/core doesn’t provide a React provider or hooks — you work directly with the TurnkeyClient.
Here’s a minimal setup example:
Optional configuration
The client accepts optional configuration for passkeys and external browser wallets. If omitted, those features will not be initialized.Passkeys
rpId is required. We recommend following this guide to set up associated domains for iOS and Android.


