Turnkey organization setup
To start, you must create a Turnkey organization via the Turnkey dashboard. The steps to do so are described in the Account Setup section. For this setup, we will be using Turnkey’s Auth Proxy to handle authentication. We can enable and configure this through the Turnkey dashboard.1
Enable Auth Proxy
Navigate to the Embedded Wallets → Configuration section in the Turnkey Dashboard and enable the
Auth Proxy.
2
Customize auth methods
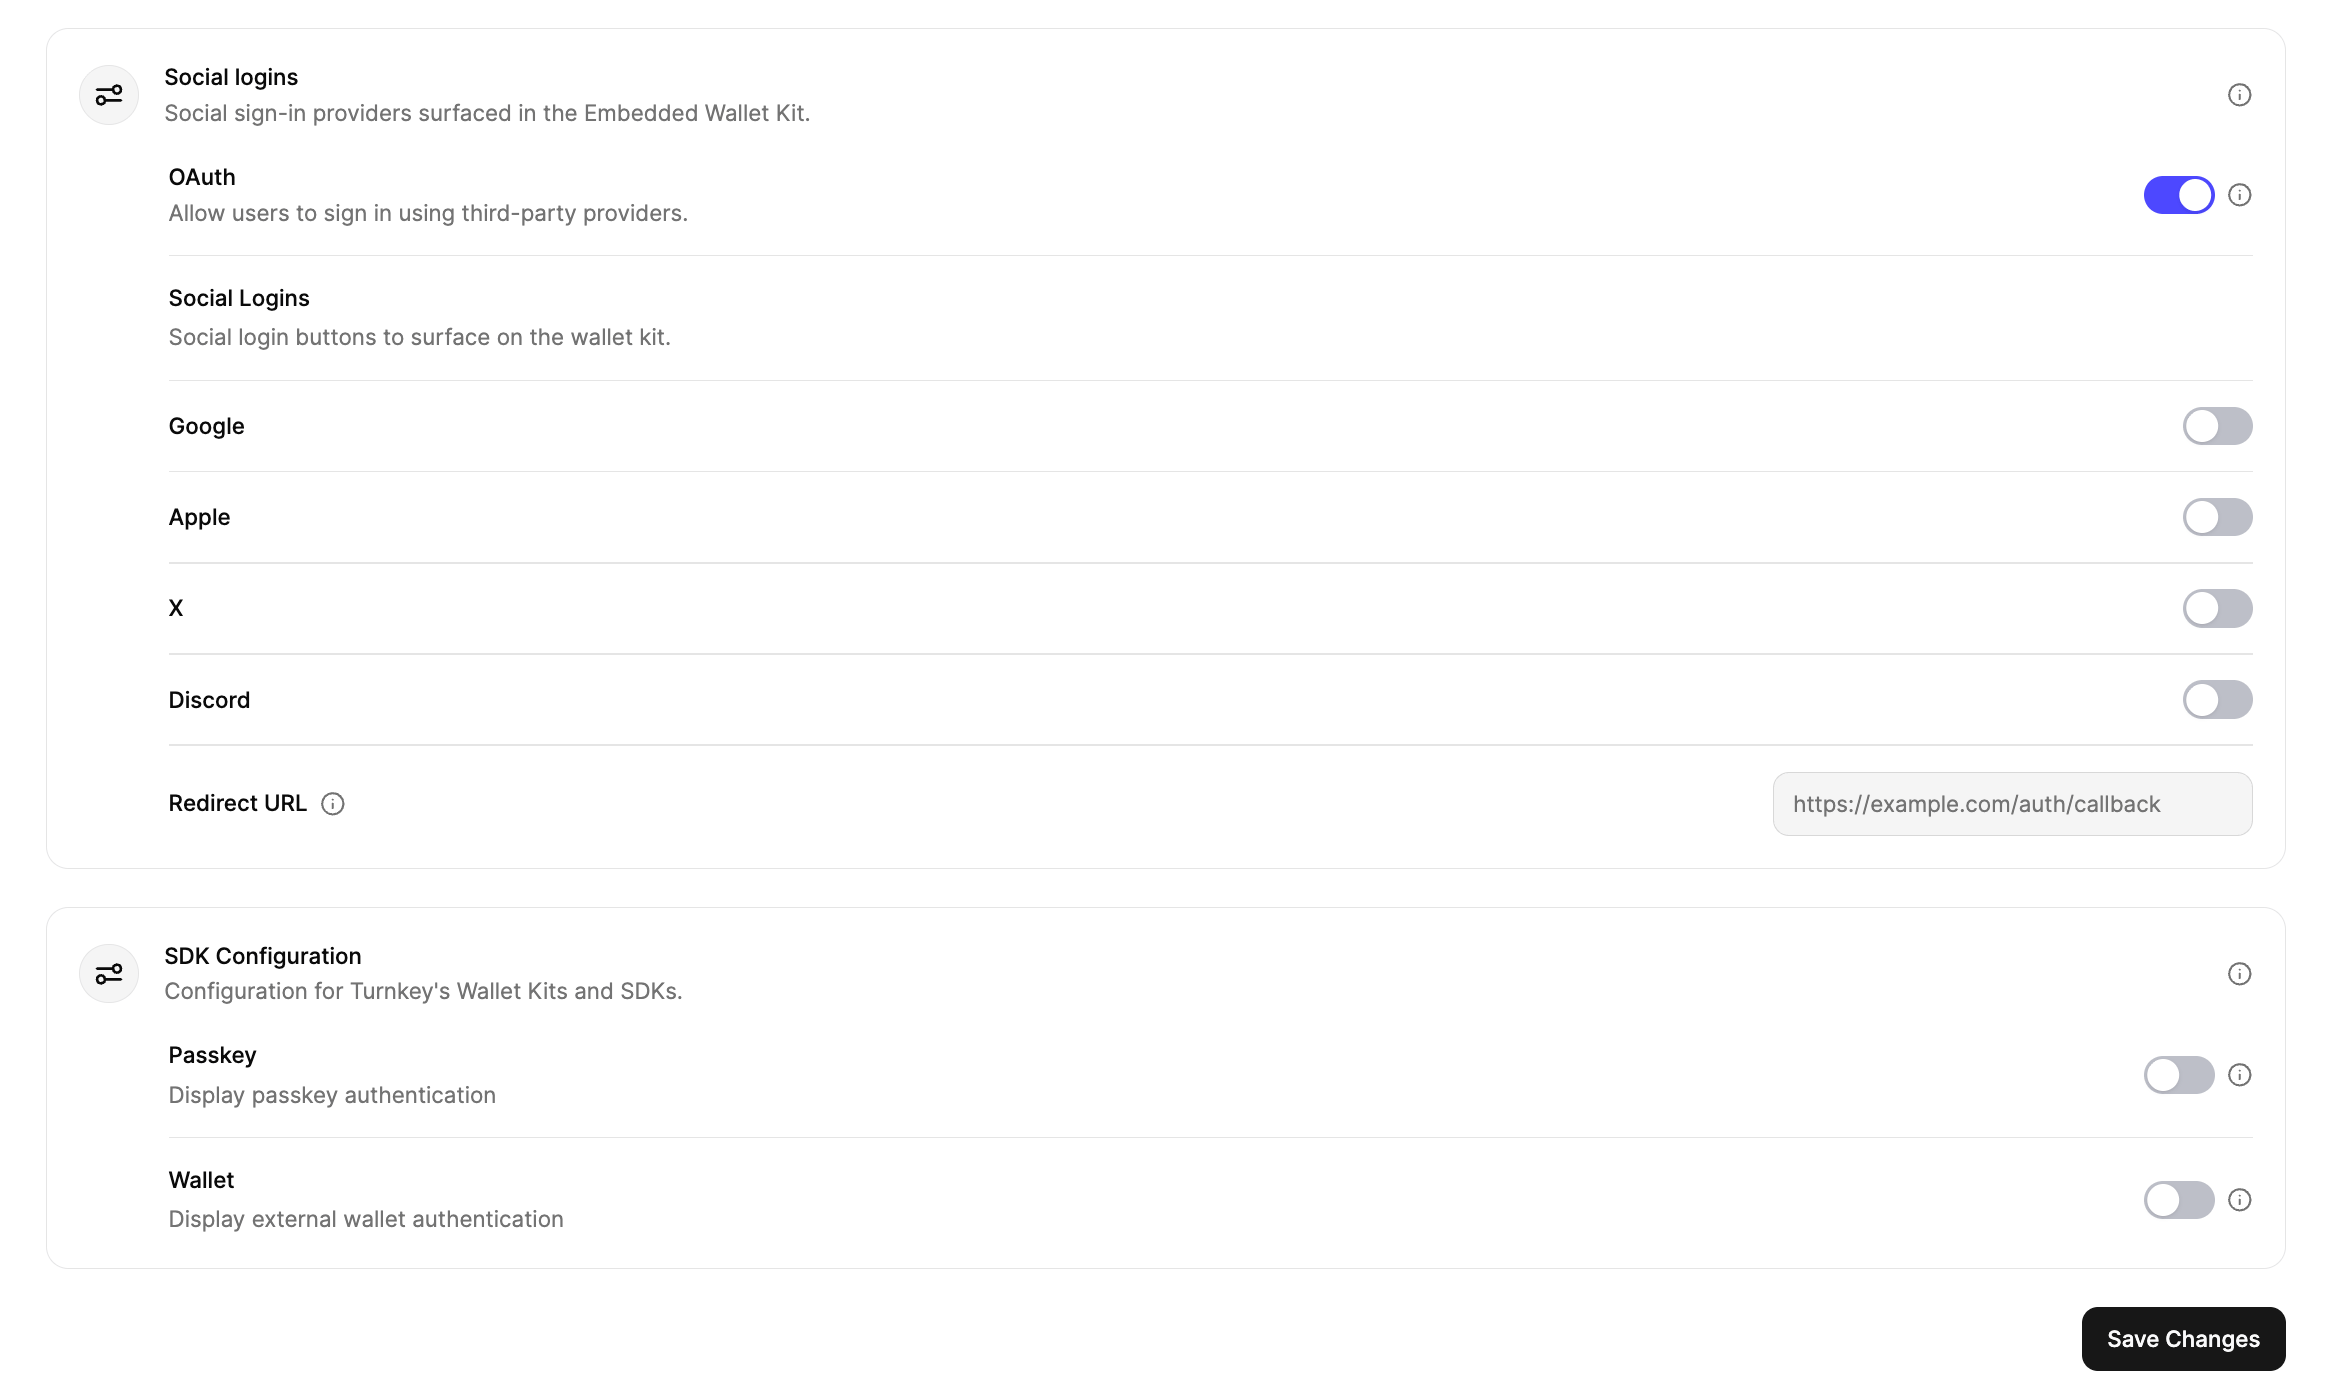
You can choose which auth methods to enable and customize various options from this screen. For this quickstart, let’s enable email OTP and passkeys. When you’re done, click Save.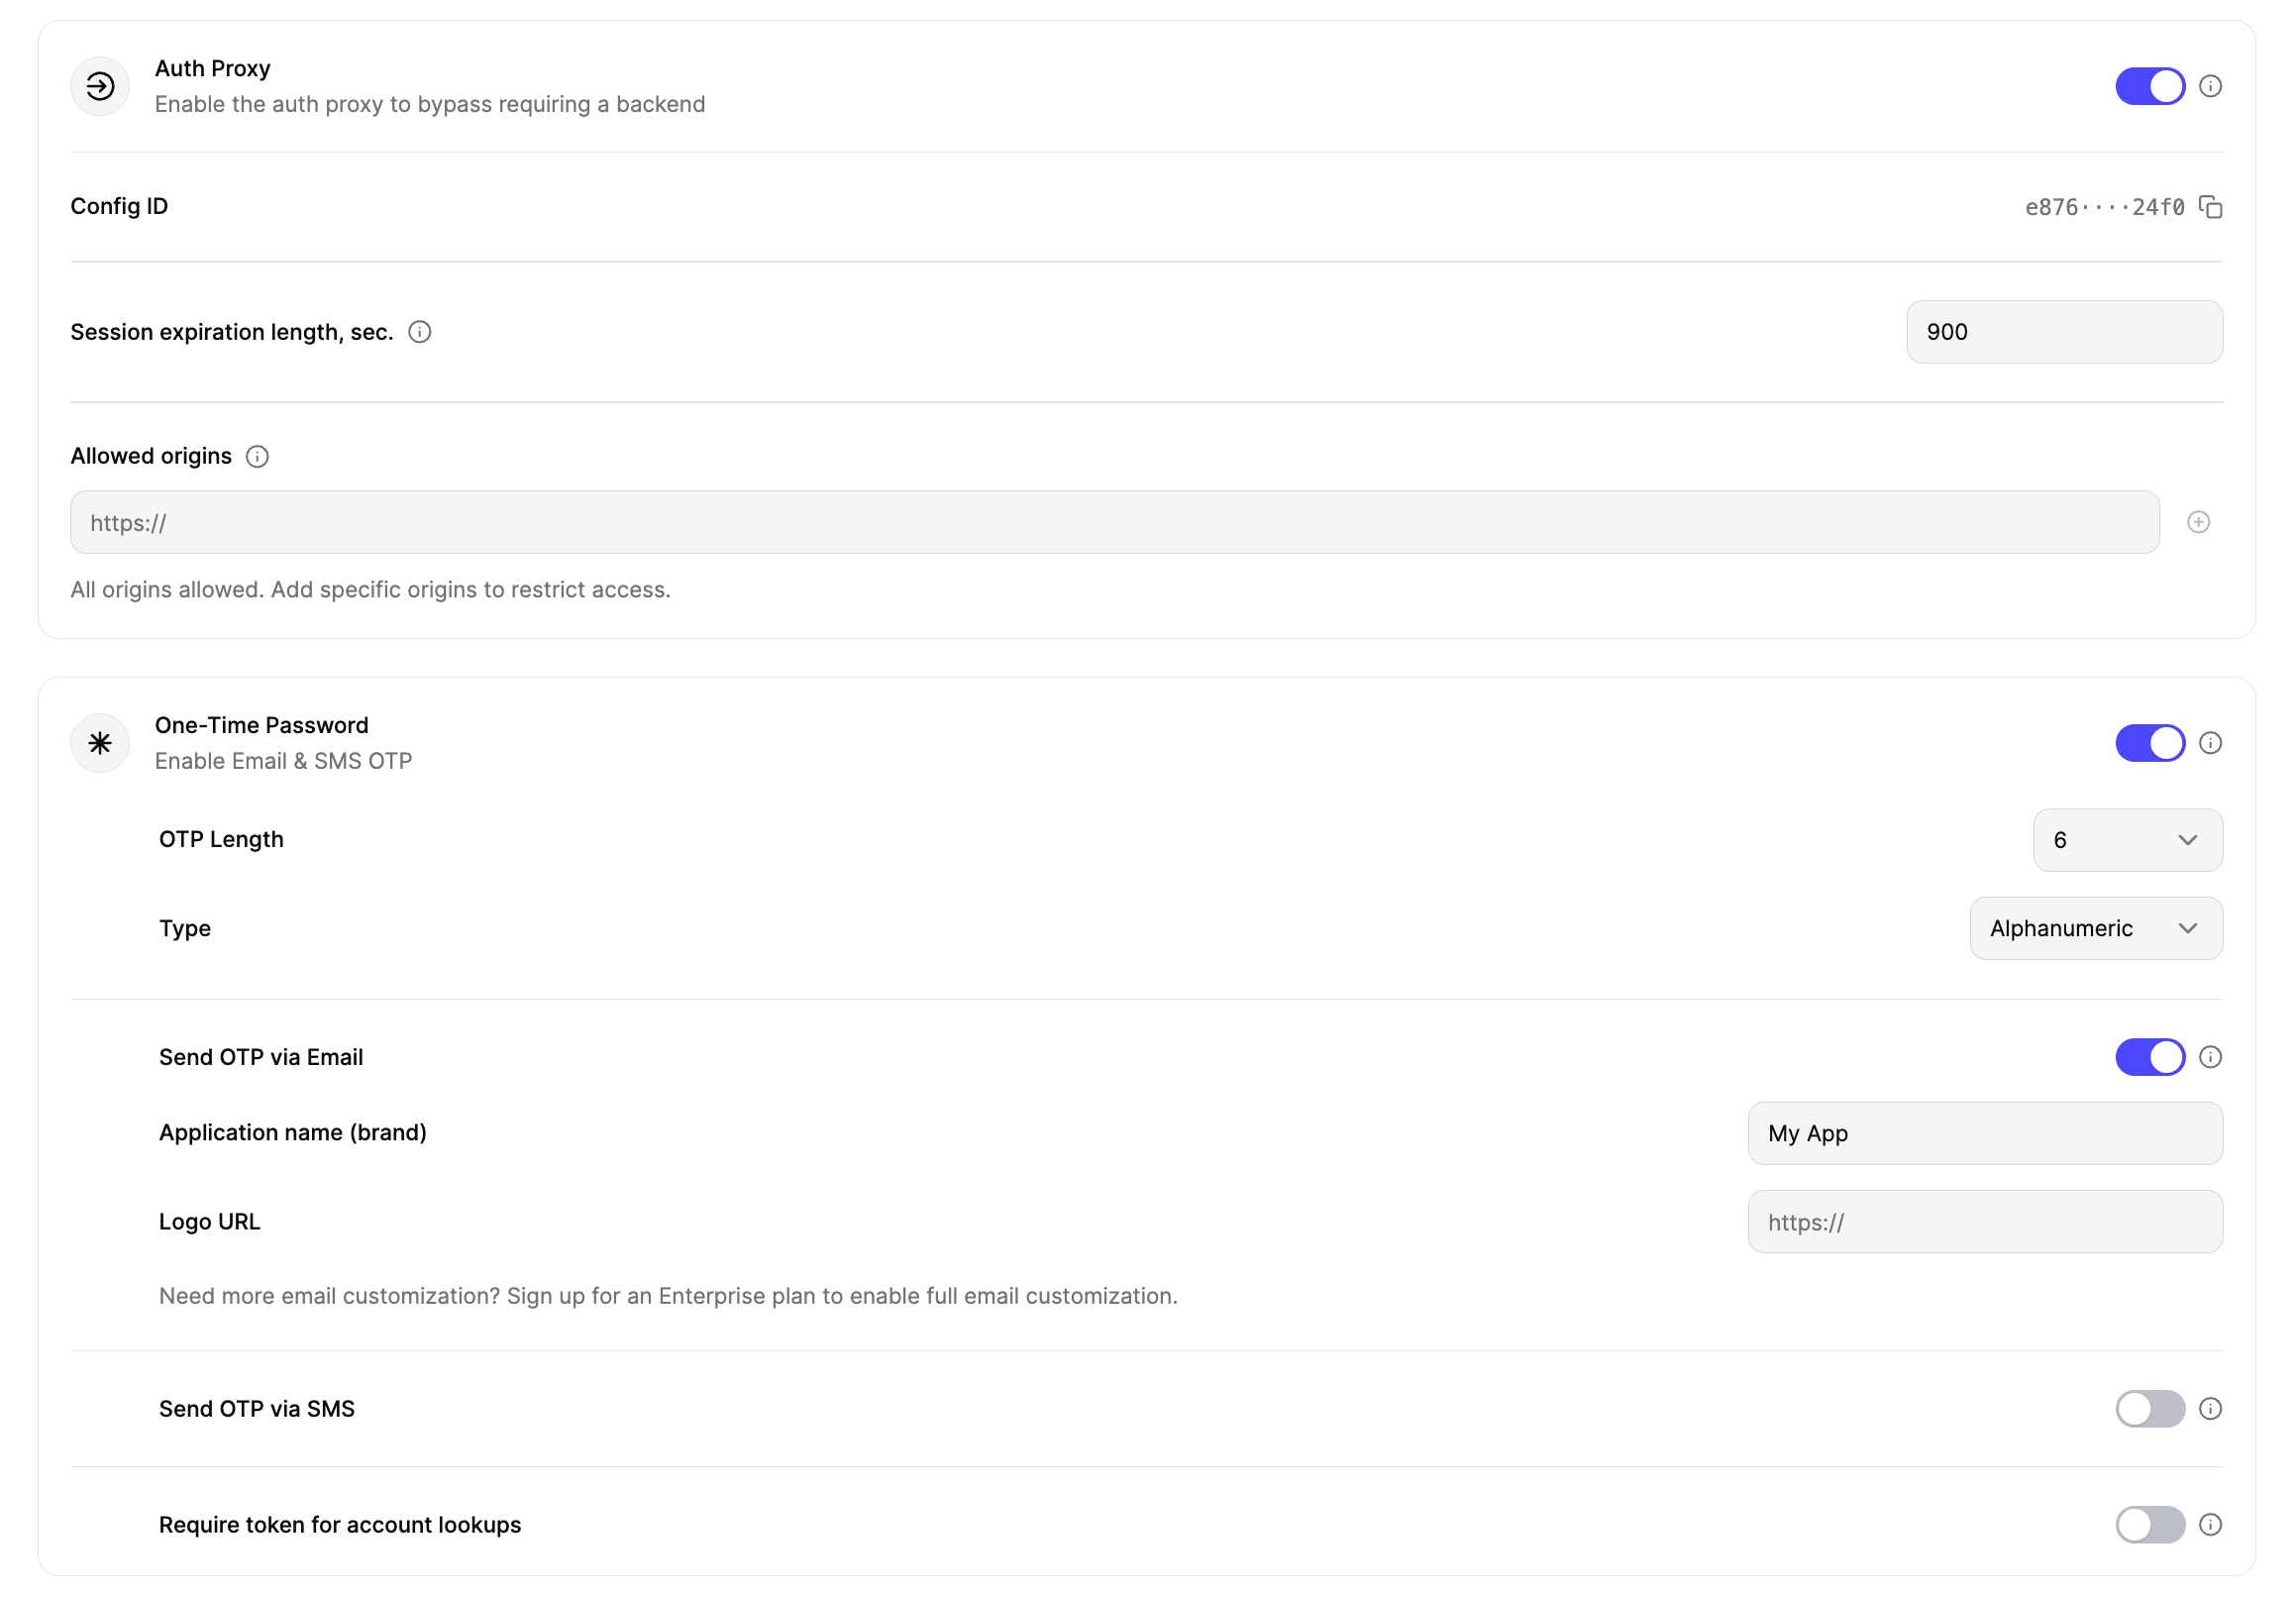
3
Finish up
Once you’re finished with the auth proxy setup, you can copy the auth proxy config ID
Installation
You can use@turnkey/react-native-wallet-kit in any React Native app (Expo or bare).
For this guide, let’s create a new Expo app. If you already have an existing app, you don’t need to do this.
npx
npx
.env file within your app directory, and populate it with the IDs from before. Using EXPO_PUBLIC_* makes these available at build time in Expo apps.
.env
Configure deep linking (required for OAuth on React Native)
Add a linkscheme to your Expo config and, if you plan to use passkeys on iOS with a custom rpId, add the associated domain:
app.json
scheme must match the auth.oauth.appScheme you pass to the TurnkeyProvider config below.
Provider
Set up aTURNKEY_CONFIG and callbacks, then wrap your app with TurnkeyProvider. The example below follows the Expo Router layout used in our sample app.
constants/turnkey.ts
Buffer is defined for dependencies that expect it.
app/_layout.tsx