Prerequisites
This guide assumes you’ve been enabled for Turnkey Verifiable Cloud, and you’ve completed the steps to create an account and an organization as described in the account setup section.Installation
Install the TVC CLI from crates.io (tvc crate):
Create your first verifiable app
Login
With your new organization ID ready, login through the CLI.tvc login. See Create an API key for the full walkthrough.
This step generates an operator P256 keypair locally for you. It is stored in
~/.config/turnkey/orgs/<name>/operator.json.
The public key will be used in the following steps.- Dashboard
- CLI
1
Create a new TVC app
Visit the TVC dashboard and click on “Create app”.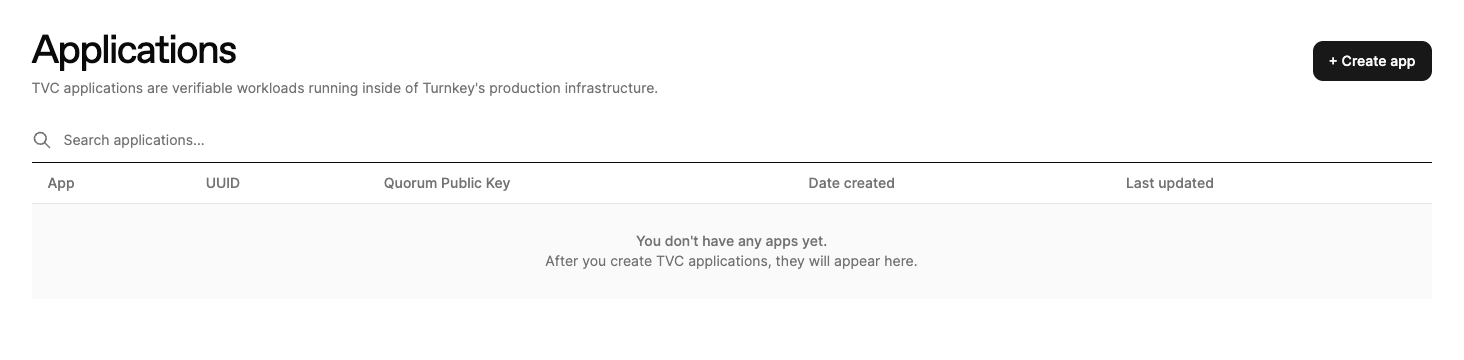
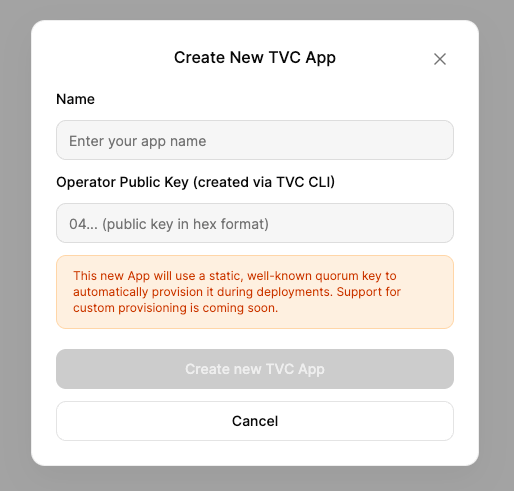
"TVC Hello World".
Paste in your operator public key from the TVC CLI login step, then click “Create new TVC App” to create your app.2
Create new TVC deployment
Once your app is created, click into it on the dashboard. Click on “Create deployment”
to start a new deployment for your app.
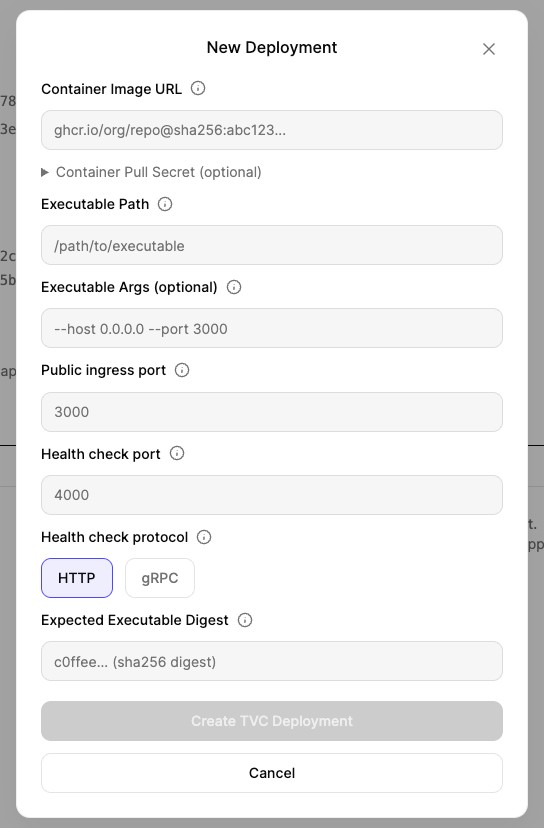
- Container Image URL:
ghcr.io/tkhq/helloworld:latest@sha256:62e625fef1e82b972925afbf12fab33a42d05e7fa8233ea610176bf71c483bde- TVC requires a single-platform
linux/amd64image digest, not a multi-platform index digest. If you are building your own image, usedocker buildx imagetools inspect <image>to find thelinux/amd64-specific digest. - If you are bringing private container images, TVC supports uploading pull secrets by encrypting them to a known public key. This will be used by TVC infrastructure to access your container images. Read more about pull secrets here.
- TVC requires a single-platform
- Executable Path:
/tvc_app - Executable Args:
--host 0.0.0.0 --port 3000. These arguments are passed to the executable on startup. Here we are telling thehelloworldbinary to start on port 3000 - Public ingress port:
3000. This is the port that will be exposed to the outside world - Health check port:
3000. Ourtvc_appbinary answers healthchecks on/healthon the same port (3000) - Health check type:
HTTP. - Executable digest: the hash of the binary file inside the container. For our helloworld example this should be
70b36652b6d3348074b51acac9bdcb43c0f544b609401b6f060799b05eea2738. You can compute it locally with:This digest will be to ensure TVC is running the code you expect.
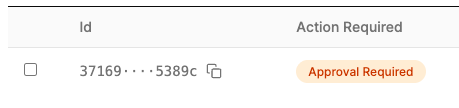
Approve deployment
By design, your deployment is not live yet. TVC requires approvals by the manifest set to fully deploy your application. Your app should be at theApproval Required stage on the dashboard:

https://app-<YOUR_APP_UUID>.turnkey.cloud to interact with it. If you used our helloworld template, try visiting /time in your browser!
Only HTTP/1 applications can receive public ingress right now. See Networking and ingress for details.
Verify your deployment
Once the deployment is live, confirm it is healthy by hitting the/health endpoint. Before doing so, check the deployment details from the previous step and ensure Healthy Replicas reads 3/3. If replicas aren’t fully up yet, the endpoint may return a 404.
Development vs. production
The flow above creates a secure, verifiable app. While you’re iterating on your image, it’s often useful to see your application’s logs from inside the enclave. That’s what debug mode is for. Debug mode is development-only: a debug enclave is not verifiable (its attestation PCRs are zeroed) and its Quorum Key must be treated as public. The recommended setup is two separate apps that run the same image:- a dev app created with debug mode enabled, where you deploy, read logs, and iterate; and
- your production app created with debug mode off.