One-time password
- Uses a 6-9 digit or bech32 alphanumeric one-time password sent via email
- Simple, and familiar user experience
alphanumericmust be set tofalseotpLengthmust be set to6- Email: user@example.com
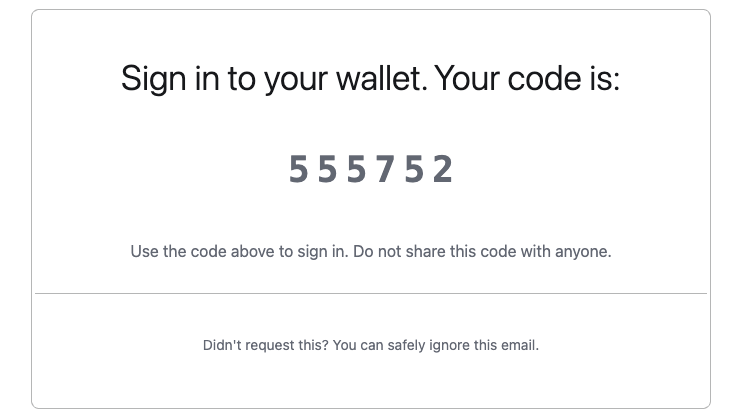
- OTP Code:
000000
Credential bundle
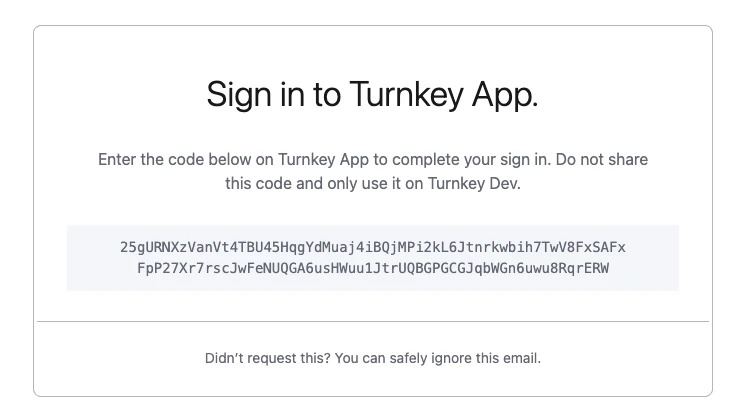
- Sends an encrypted API key credential directly via email
- Alternative method for specific use cases
- More secure, but requires copying the full credential to the client
Core mechanism
Email Authentication is built with expiring API keys as the foundation. The two delivery mechanisms are:OTP-based method
The authentication process happens in two steps:1
A 6-9 digit or alphanumeric OTP code is sent to the user’s verified email address
2
Upon verification of the correct code, an API key credential is generated and encrypted for the client
Credential bundle method
This method is only supported by legacy iframe-based flows and is not available in the current Turnkey SDKs.
Email recovery
In Turnkey, email recovery does not refer to a separate, recovery-only email address (as commonly used in consumer products, where a recovery email can reset access but cannot itself be used to sign in). Instead, it means adding email as an authentication method for a user. Once added, that user can authenticate using email by default, alongside any other configured authenticators (such as passkeys, social logins or external wallets). The legacy iframe-based flow usingINIT_USER_EMAIL_RECOVERY and RECOVER_USER still exists for backward compatibility with older integrations. These flows ultimately attach new authentication material (for example, a passkey) to the user. They are being deprecated and should not be used for new integrations.
Prerequisites
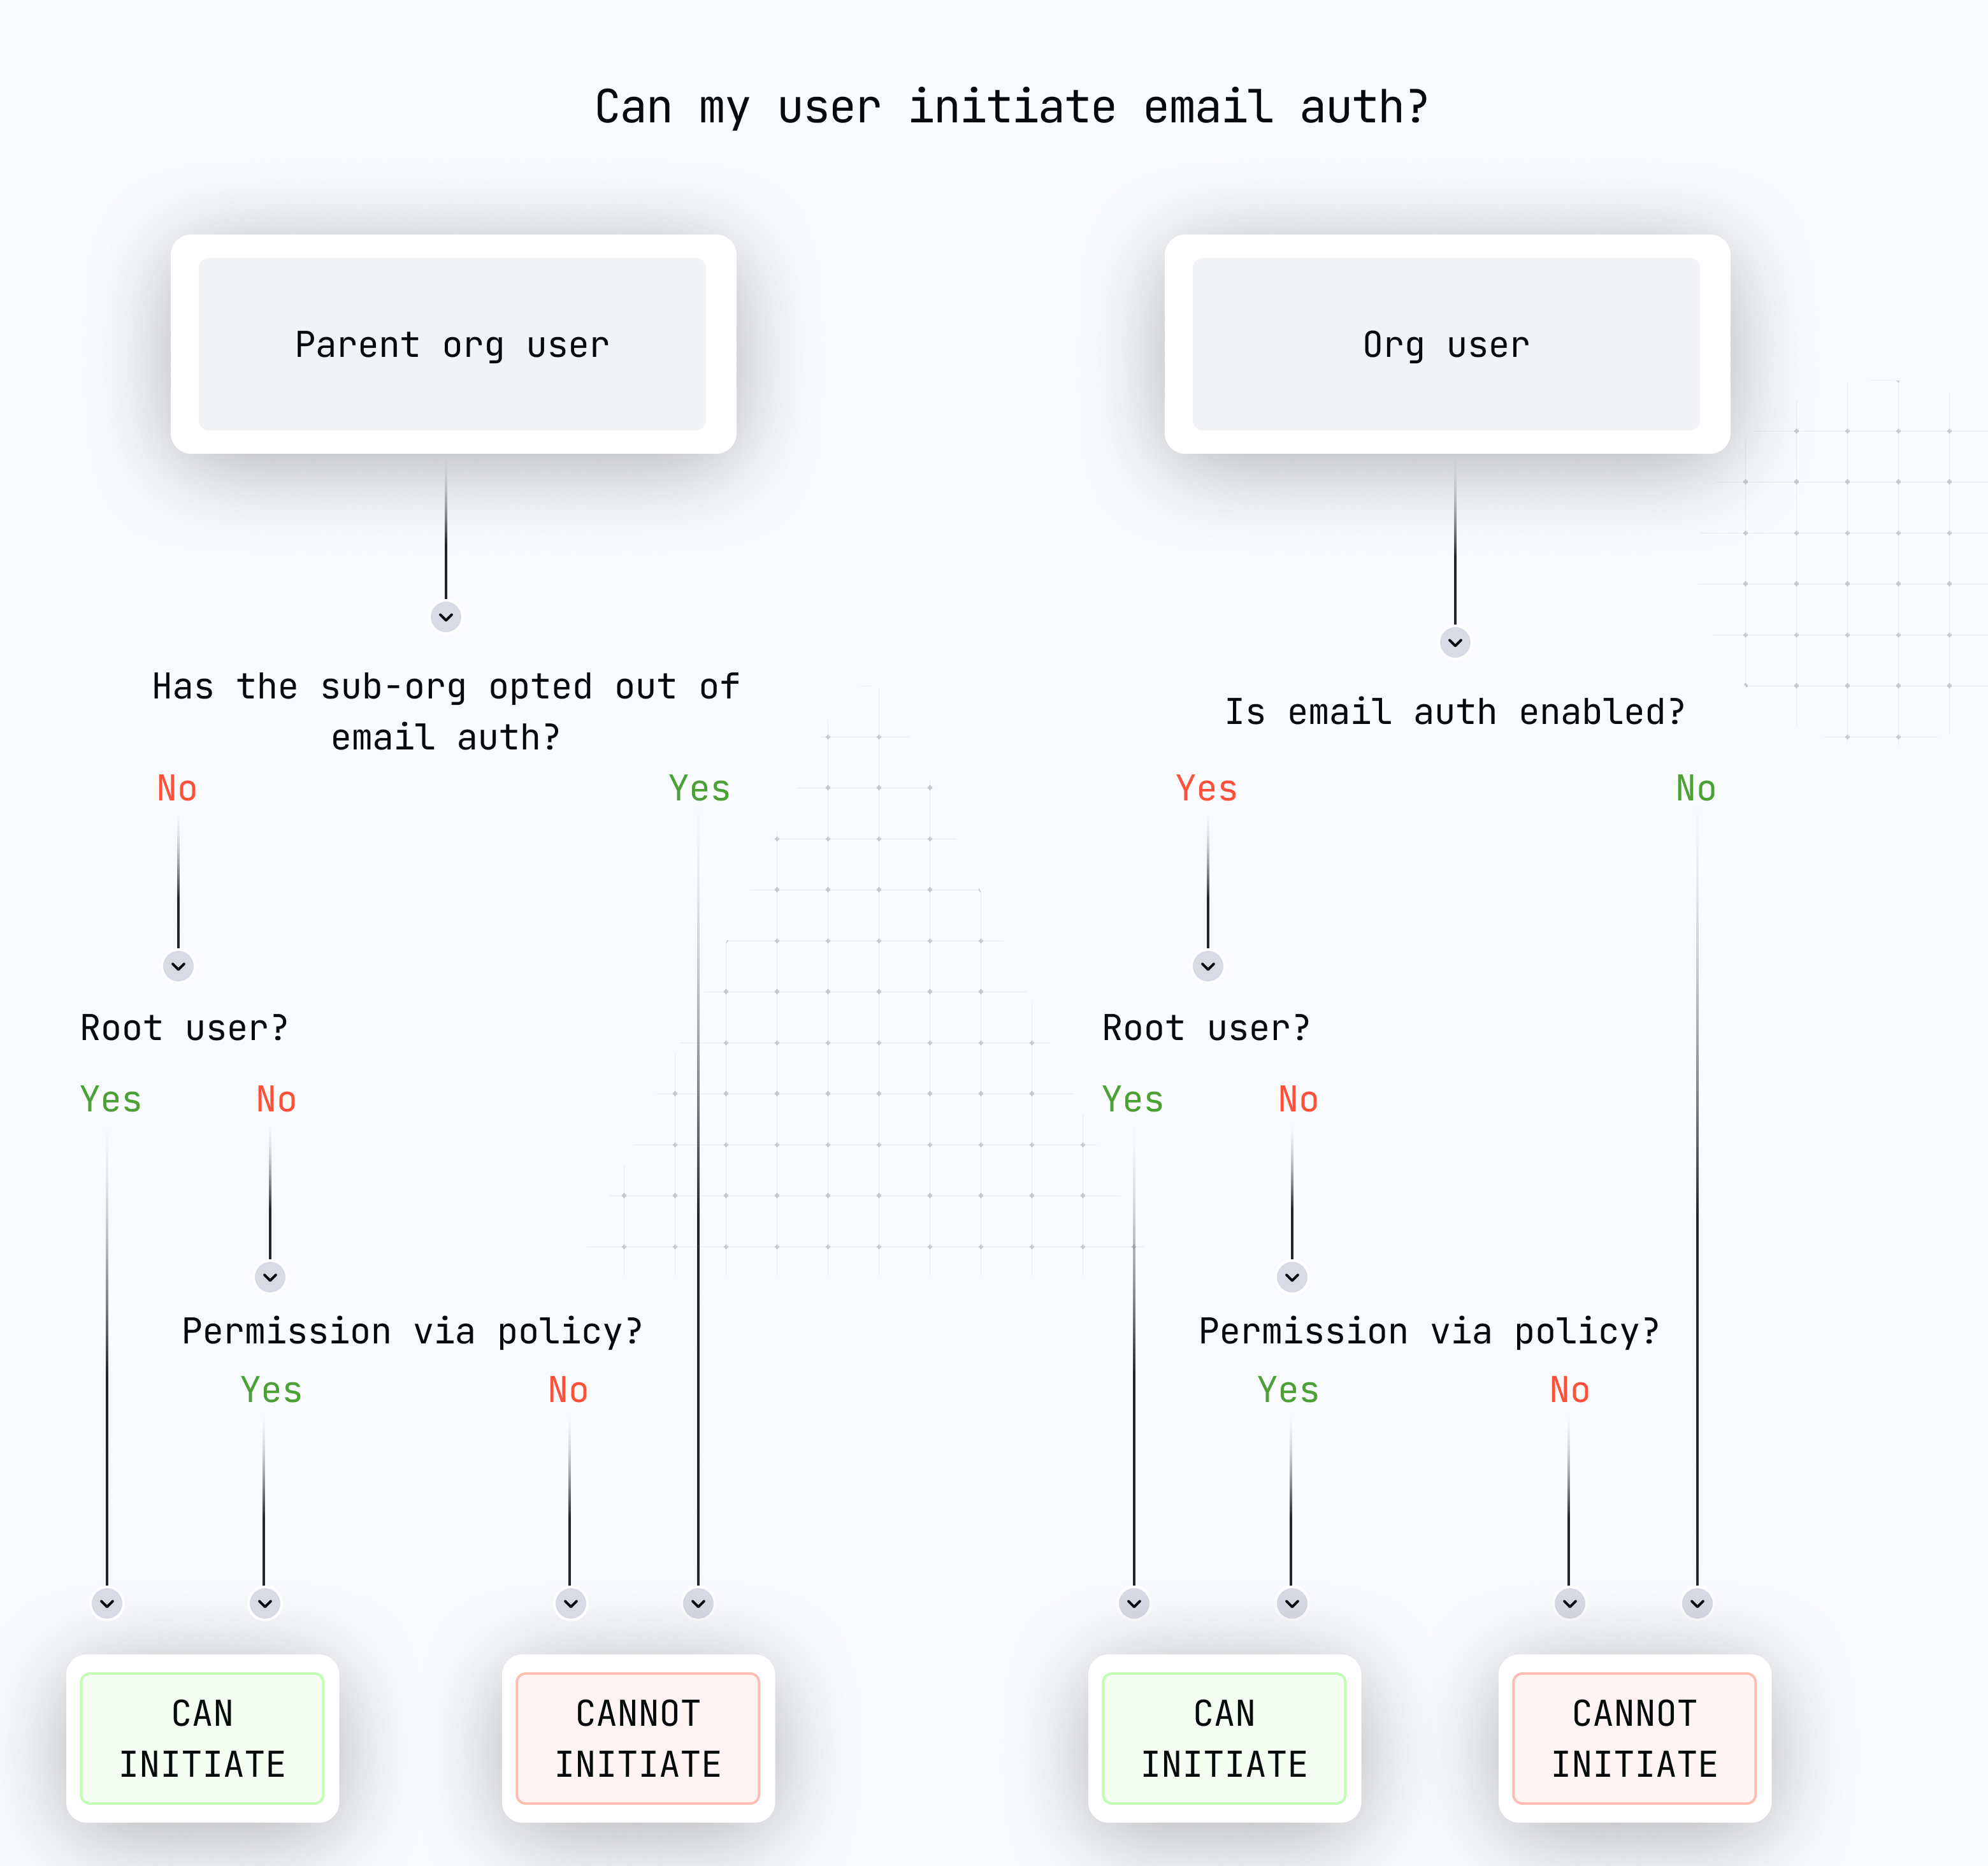
Make sure you have set up your primary Turnkey organization with at least one API user that can programmatically initiate email auth and create suborganizations. Check out our Quickstart guide if you need help getting started. To allow an API user to initiate email auth, you’ll need the following policy in your main organization:Avoid using an API key that is also present in the sub-organization that you’re targeting within the email activities. Turnkey identifies the user from the request signature and in case of an identical API key it will always prioritize the sub-organization user matching. As a result, it will try to evaluate the sub-organization policies instead of the parent ones.
User experience
OTP-based authentication flow
The flow begins with a new activity of typeACTIVITY_TYPE_INIT_OTP_V3 using the parent organization id with these parameters:
otpType: specify"OTP_TYPE_EMAIL"contact: user’s email addressemailCustomization: optional parameters for customizing emailsuserIdentifier: optional parameter for rate limiting SMS OTP requests per user. We recommend generating this server-side based on the user’s IP address or public key. See the OTP Rate Limits section below for more details.alphanumeric: optional parameter for making this code bech32 alphanumeric or not. default: trueotpLength: optional parameter for selecting the length of the OTP. default: 9expirationSeconds: optional validity window (defaults to 5 minutes)sendFromEmailAddress: optional custom email address from which to send the OTP emailsendFromEmailSenderName: optional custom sender name for use with sendFromEmailAddress; if left empty, will default to ‘Notifications’replyToEmailAddress: optional custom email address to use as reply-to
ACTIVITY_TYPE_INIT_OTP_V3 includes an otpEncryptionTargetBundle which is used in OTP verification. After receiving the OTP, users complete OTP verification with ACTIVITY_TYPE_VERIFY_OTP_V2 using the parent organization id which returns a verificationToken JWT:
otpId: ID from the init activityencryptedOtpBundle: bundle generated using the otpEncryptionTargetBundle received duringACTIVITY_TYPE_INIT_OTP_V3and contains the 6-9 digit or alphanumeric code received via email, and the public key of a client-side generated keypair.expirationSeconds: optional validity window (defaults to 1 hour)
ACTIVITY_TYPE_OTP_LOGIN_V2 using the sub-organization ID associated with the contact from the first step:
publicKey: public key to add to organization data associated with the signing key in IndexedDB or SecureStorage.verificationToken: JWT returned from successfulVERIFY_OTPactivityclientSignature: This proves authorization for the verification token being used, and is generated using the keypair whose public key was provided in theencryptedOtpBundleduring verification.expirationSeconds: optional validity window (defaults to 15 minutes)invalidateExisting: optional boolean to invalidate previous login sessions
Upgrading a legacy OTP integration, SDK Browser/Server/React from before 6.0, or Wallet Kit/Core from before 2.0? Follow the OTP migration guide to update activity versions, encrypted bundles, client signatures, and policies.
Sub-organization initiated OTP
By default, the OTP flow is performed by the parent organization using an API key with sufficient permissions. Sub-organizations can also run the full flow directly — the sub-org’s root user (or any user with a policy permitting OTP creation and verification) can initiate it without involving the parent backend. All activities are stamped using valid sub-organization credentials, withorganizationId set to the sub-org ID throughout:
1
Call
ACTIVITY_TYPE_INIT_OTP_V3 with organizationId set to the sub-org ID, stamped with the sub-org’s API key2
Call
ACTIVITY_TYPE_VERIFY_OTP_V2 with the same sub-org ID and API key to receive a verificationToken3
Use the
verificationToken to complete one of the following:ACTIVITY_TYPE_OTP_LOGIN_V2— authenticate and create a new sessionACTIVITY_TYPE_UPDATE_USER_EMAIL— verify and update the user’s email addressACTIVITY_TYPE_UPDATE_USER_PHONE— verify and update the user’s phone number
The
verificationToken is scoped to the issuing organization. Parent-issued tokens can be used by any sub-organization; sub-org-issued tokens are limited to that sub-org only.OTP rate limits
In order to safeguard users, Turnkey enforces rate limits for OTP auth activities. If auserIdentifier parameter is provided, the following limits are enforced:
- 3 requests per 3 minutes per unique
userIdentifier - 3 retries max per code, after which point that code will be locked
- 3 active codes per user, each with a 5 minute TTL
Credential bundle authentication flow
This alternative method usesACTIVITY_TYPE_EMAIL_AUTH with these parameters:
email: user’s email address (must match their registered email)targetPublicKey: public key for credential encryptionapiKeyName: optional name (defaults toEmail Auth - <Timestamp>)expirationSeconds: optional validity window (defaults to 15 minutes)emailCustomization: optional parameters for customizing emailsinvalidateExisting: optional boolean to invalidate previous Email Auth API keys
Email customization
We offer customization for the following:appName: the name of the application. This will be used in the email’s subject, e.g.Sign in to ${appName}logoUrl: a link to a PNG with a max width of 340px and max height of 124pxmagicLinkTemplate: a template for the URL to be used in the magic link button, e.g.https://dapp.xyz/%s. The auth bundle will be interpolated into the%s
Breaking change: appName required
Server SDK code examples
Server SDK code examples
emailAuth and emailRecovery — both methods use the same parameter structure:initOtp and initOtpAuth — both methods use the same parameter structure:Policy activity type updates
Policy activity type updates
If you manage email flows with policies, update to the new activity types:
Email templates
We also support custom HTML email templates for Enterprise clients on the Scale tier. This allows you to inject arbitrary data from a JSON string containing key-value pairs. In this case, theemailCustomization variable may look like:
alice and bob can be interpolated into the email template using the key username, referenced in the template with {{ index .TemplateVariables "username" }}.
The use of such template variables is purely optional.
Here’s an example of a custom HTML email template that includes the OTP code, referenced within the markup as {{ .OtpCode }}.
For best compatibility across email providers, make sure to use PNG images within your templates.

Custom email sender domain
Enterprise clients can also customize the email sender domain. To get set up, please reach out to your Turnkey rep to get started but here is what you’ll be able to configure:- Email has to be from a pre-whitelisted domain
- If there is no
sendFromEmailAddressor it’s invalid, the other two fields are ignored - If
sendFromEmailSenderNameis absent, it defaults to “Notifications” (again, ONLY ifsendFromEmailAddressis present and valid) - If
replyToEmailAddressis absent, then there is no reply-to added. If it is present, it must ALSO be from a valid, whitelisted domain, but it doesn’t have to be the same email address as thesendFromEmailAddressone (though once again, this first one MUST be present, or the other two feature are ignored) - Sender name screening: Some email clients (e.g. Gmail) screen sender names more aggressively than others (e.g. Apple Mail), which can lead to inconsistent display across clients. To ensure a consistent experience, keep your
sendFromEmailSenderName“safe looking” — avoid underscores, special symbols, or unusual formatting that may cause it to be filtered or hidden.
Authorization
Authorization is managed through our policy engine:Authentication
Both OTP-based and credential bundle authentication activities:- Can be performed by root quorum or users with proper policy authorization
- Require the respective feature to be enabled in the organization and sub-organization
- Can target any user in the organization or sub-organizations
- For OTP-based auth (current):
ACTIVITY_TYPE_INIT_OTP_V3,ACTIVITY_TYPE_VERIFY_OTP_V2, andACTIVITY_TYPE_OTP_LOGIN_V2 - For credential bundle auth:
ACTIVITY_TYPE_EMAIL_AUTH
Example implementations
Implementation in organizations
For organizations accessed via dashboard:- Ensure the required features are enabled:
FEATURE_NAME_OTP_EMAIL_AUTHfor OTP-based authenticationFEATURE_NAME_EMAIL_AUTHfor credential bundle authentication
- Users initiating the request must have appropriate permissions
Opting out
Organizations can disable email-based features if their security model requires it: UseACTIVITY_TYPE_REMOVE_ORGANIZATION_FEATURE to disable:
FEATURE_NAME_OTP_EMAIL_AUTHfor OTP-based authenticationFEATURE_NAME_EMAIL_AUTHfor credential bundle authentication
disableOtpEmailAuthparameter for OTP-based authenticationdisableEmailAuthparameter for credential bundle authentication
Implementation notes
- Users are limited to:
- 10 long-lived API keys
- 10 expiring API keys (oldest are discarded when limit is reached)
For top-level organizations
- Both authentication methods are disabled by default
- Must be enabled via
ACTIVITY_TYPE_SET_ORGANIZATION_FEATURE
For sub-organizations
- Both authentication methods are enabled by default
- Can be disabled during creation using
CreateSubOrganizationIntentV7activity parameters